
Tutorial
This tutorial covers the sorting of a set of parts with the AM-Vision.
First we describe the sample set and perform the one-time configuration of the AM-Vision. Then the parts are uploaded, sorted by next post-processing step, and finally sorted by customer order.
The AM-Vision API is a REST API which accepts and returns only JSON data. The main API endpoints are:
Endpoint |
Description |
|---|---|
model |
Models represent 3D models (e.g. STL files). |
part |
Representation of a printed, physical part. |
part_attribute |
Part attributes that can be sorted on, shown in the UI or on labels. |
batch |
Batches are collections of parts to be sorted. |
query |
Queries on attributes to sort on. |
query_category |
Categories of queries displayed as tabs in the UI |
webhook |
Webhook subscriptions to notify your API of events in the AM-Vision |
scan_assignment |
Contains details of the assignment of scans to parts by operators |
material |
Materials describe the appearance of printed 3D models. |
Sample data
In this tutorial, we’ll be using sample STL files that can be downloaded from our github repo. This repository also contains the example code discussed below.
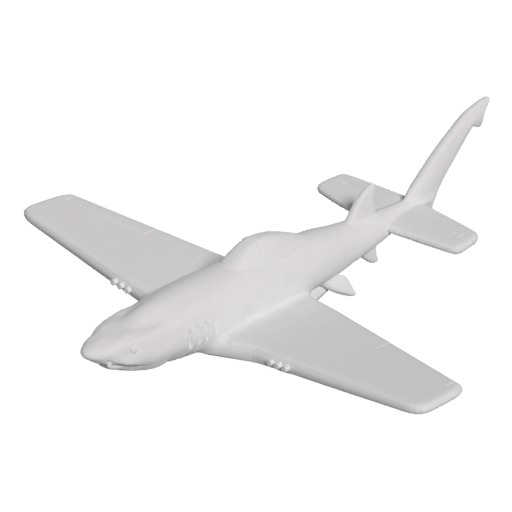
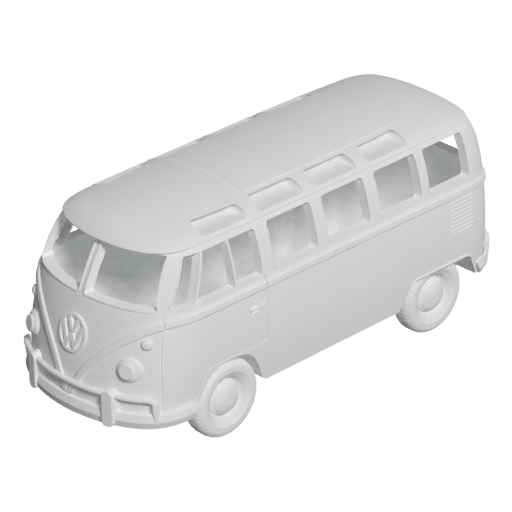
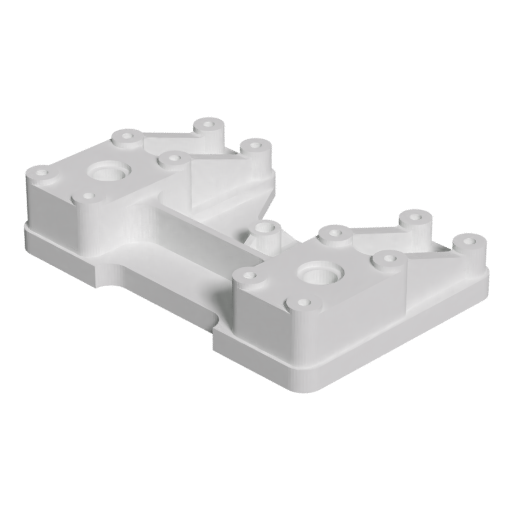
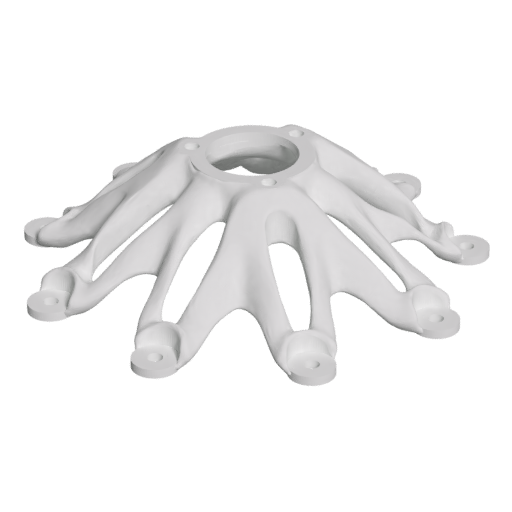
Let’s say we have a small part batch consisting of 14 physical parts:
Thumbnail |
STL |
Title |
Copies |
Material |
Step 1 |
Step 2 |
|---|---|---|---|---|---|---|
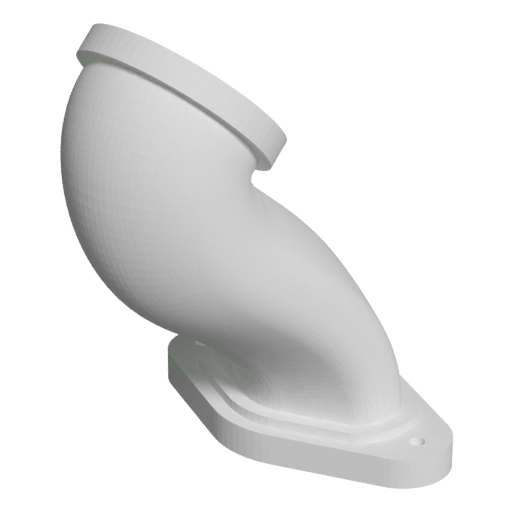
|
airplane.stl |
Airplane |
1 |
SLS_PA11 |
shipping |
|
|
bus.stl |
Bus |
5 |
SLS_PA11 |
shipping |
|
|
bracket.stl |
Bracket |
1 |
MJF_PA12 |
shipping |
|
|
bracket.stl |
Widget |
1 |
MJF_PA12 |
dye_black |
shipping |
|
coupling.stl |
Coupling |
1 |
SLS_PA11 |
dye_black |
shipping |
|
flange.stl |
Flange |
1 |
SLS_PA11 |
dye_red |
shipping |
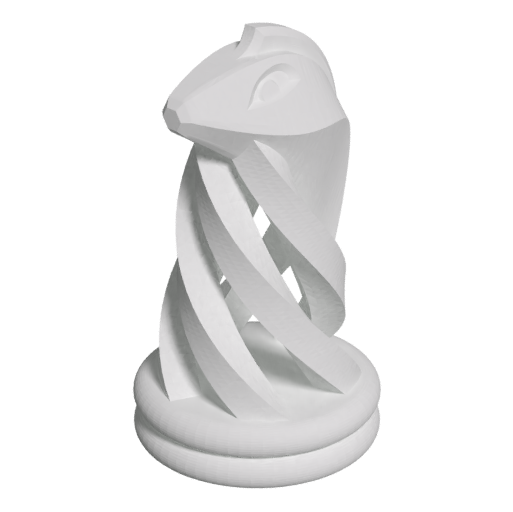
|
knight.stl |
Knight |
1 |
MJF_PA12 |
dye_red |
shipping |
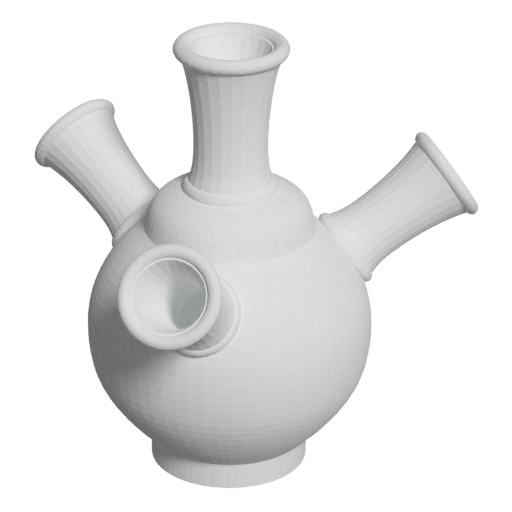
|
vase.stl |
Vase |
3 |
MJF_PA12 |
dye_red |
shipping |
A couple of things to note:
There are two raw printing materials:
MJF_PA12andSLS_PA11.There are two processing steps that change the appearance of the parts:
dye_blackanddye_red.There are 7 STL files, and 8 parts (bracket.stl exists twice under different names)
There are 8 part rows, but 14 physical parts (one part has 5 copies and one has 3)
The following table shows example attribute keys and values for each part in the sample set above:
Part |
Next step |
Previous step |
Technology |
Order |
Print tray |
Target date |
|---|---|---|---|---|---|---|
Airplane |
shipping |
Printing |
SLS |
168 |
240 |
2022-07-23 |
Bus |
shipping |
Printing |
SLS |
201 |
240 |
2022-03-10 |
Bracket |
shipping |
Printing |
MJF |
201 |
240 |
2022-03-10 |
Widget |
dye_black |
Printing |
MJF |
443 |
240 |
2022-03-18 |
Coupling |
dye_black |
Printing |
SLS |
302 |
240 |
2022-03-18 |
Flange |
dye_red |
Printing |
SLS |
201 |
240 |
2022-03-10 |
Knight |
dye_red |
Printing |
MJF |
302 |
240 |
2022-03-18 |
Vase |
dye_red |
Printing |
MJF |
168 |
240 |
2022-07-23 |
These attribute key-values form the main metadata of the parts, and are used to search, sort, and group the parts.
Connecting to the API
Connecting to the API can be done using your HTTP library of choice. Authentication is done using a token, which you should have received from AM-Flow. The token needs to be sent in an Authorization header with each request.
The example code below is in Python 3 (using the Slumber library). In the examples below, please replace the following:
- AMV_URL:
the url to the API of your AM-Vision machine (e.g. http://192.168.100.123/api/)
- AMV_TOKEN:
your API access token (contact AM-Flow if you don’t have one).
The following example defines a bare-bones API client class using Slumber:
import slumber

class APIClient(slumber.API):
    def __init__(self, url, token):
        super().__init__(url)
        # add auth header to slumber's default api client
        header = "Token {}".format(token)
        self._store['session'].auth = None
        self._store['session'].headers['Authorization'] = header

# create a client instance
api = APIClient(AMV_URL, AMV_TOKEN)
# retrieve the list of batches from the API
api.batch.get()
Note that in the examples, the Slumber library translates the API paths to dot-notation.
So when it says api.batch.get(), that means a GET request to the /api/batch/ endpoint.
The AM-Vision API tries to return helpful messages in case of bad requests (400 errors). The API client above however does not display these, only a traceback. The somewhat more complex client example below will display nice error messages and time the api responses:
import logging
import time
import requests
import slumber

log = logging.getLogger(__name__)


class APISession(requests.Session):
    """Logging wrapper around requests session"""
    def request(self, method, url, **kwargs):
        start = time.time()
        response = super().request(method, url, **kwargs)
        duration = int(1000 * (time.time() - start))
        log.info("[AM-Vision API] %s %s %s %dms", method, url, response.status_code, duration)
        if 400 <= response.status_code <= 499:
            log.warning("AMvision Error message: %s", response.content)
        return response


class APIClient(slumber.API):
    def __init__(self, url, token):
        # this custom session adds error printing and response time tracking
        super().__init__(url, session=APISession())
        # add authentication header to slumber's default api client
        self._store['session'].auth = None
        self._store['session'].headers['Authorization'] = "Token " + token
One-time configuration
There are several things that you will have to configure only once in your AM-Vision. You can ask your AM-Flow service agent to configure these for you, or you can do it yourself with the API.
Note
Please refer to the configuration.py file in our github repo for the example code of the one time configuration.
Part attributes
PartAttributes are the main method for encoding information about your parts. You define attributes once, and then each part can contain a value for each attribute.
Queries on the values of the attributes are used to select parts throughout the system. PartAttributes can be used to sort parts by, to create batches from, to group parts by in the UI, to display in the UI or on printed labels, etc.
PartAttributes contain the following fields:
- id:
A unique slug id for the attribute
- title:
A human-readable attribute title
- field:
The field in your attributes map to use (usually the same as id)
- datatype:
one of NUMBER, STRING, BOOLEAN, DATETIME
- filtering:
Allow output sorting on this attribute
- sorting:
Allow ordering parts by this attribute in the UI.
- detail:
Show this attribute in the part’s detail screen.
- summary:
Show this attribute in the part’s summary card.
- order:
The order to display the attribute in (optional)
- is_list:
Whether the attribute is a list of values
The attributes of our sample dataset are listed above in the Attributes table.
If you upload the parts with these values, you can then for instance make a batch with the query next_step=shipping.
The following example uploads the PartAttributes mentioned in the table above:
attributes = [
    {
        "id": "next_step",
        "title": "Next step",
        "field": "next_step",
        "datatype": "STRING",
        "filtering": True,
        "sorting": True,
        "detail": True,
        "summary": True,
        "order": 0
    },
    {
        "id": "prev_step",
        "title": "Previous step",
        "field": "prev_step",
        "datatype": "STRING",
        "filtering": True,
        "sorting": True,
        "detail": True,
        "summary": False,
        "order": 1
    },
    {
        "id": "technology",
        "title": "Technology",
        "field": "technology",
        "datatype": "STRING",
        "filtering": True,
        "sorting": False,
        "detail": True,
        "summary": False
    },
    {
        "id": "order",
        "title": "Order #",
        "field": "order_id",
        "datatype": "NUMBER",
        "filtering": True,
        "sorting": False,
        "detail": True,
        "summary": True
    },
    {
        "id": "tray",
        "title": "Print tray",
        "field": "tray",
        "datatype": "STRING",
        "filtering": True,
        "sorting": False,
        "detail": True,
        "summary": False
    },
    {
        "id": "target_date",
        "title": "Target date",
        "field": "target_date",
        "datatype": "STRING",
        "filtering": True,
        "sorting": True,
        "detail": True,
        "summary": True
    }
]
api.part_attribute.put(attributes)
Sorting query categories
Sorting query categories group sorting queries together in tabs in the sorting setup screen of the UI. Sorting query categories contain the following fields:
- id:
A unique slug id for the query category
- title:
The title displayed in the UI tab
We’ll make categories for next-step-sorting, order-based sorting, and date-based sorting:
categories = [
    {"id": "next_step", "title": "Next step"},
    {"id": "order", "title": "Order #"},
    {"id": "date", "title": "Target date"},
]
api.query_category.put(categories)
Sorting queries
Sorting queries define the criteria used to sort parts into outputs. An example query could be
next_step=dye_black. This query would match all parts whose next processing step is dying black.
In the AM-Vision UI, this query can be assigned to an output, such that all to-be-black
prints will end up together at this output.
You can also define dynamic sorting queries. In cases where the possible values for a PartAttribute are not known in advance. For instance one might want to sorder by order id, but it is not possible to make queries for each possible order id. In this case you can make a dynamic query for the order attribute, and it will automatically create subqueries for each order in the current batch.
Sorting queries contain the following fields:
- id:
A unique slug id for the query
- title:
The query title displayed in the UI
- category:
QueryCategory tab to display query under (optional)
- query:
A query on part attributes that determines the parts (leave empty to select all)
- dynamic_attribute:
An optional attribute to define a dynamic query
This example creates only dynamic queries to sort by next step, order number or target date:
sorting_queries = [
    {
        "id": "next_step",
        "title": "Next step",
        "query": "",
        "category": "next_step",
        "dynamic_attribute": "next_step"
    },
    {
        "id": "target_date",
        "title": "Target date",
        "query": "",
        "category": "date",
        "dynamic_attribute": "target_date"
    },
    {
        "id": "order",
        "title": "Order #",
        "query": "",
        "category": "order",
        "dynamic_attribute": "order"
    }
]
api.query.put(sorting_queries)
Webhook subscription
The AM-Vision API can let you know when certain events occur by doing a POST to an endpoint in your own API. This is fully described in Webhooks.
Here, we will subscribe to the batch.advance webhook to be notified when the operator has completed sorting a batch:
api.webhook.post({
    'event': 'batch.advance',
    'target': 'http://yourapi.com/on_batch_sorted/'
})
Later we’ll discuss the contents of the webhook notification.
This concludes the one-time configuration for the AM-Vision API.
Sorting to next step
The remainder of this tutorial concerns steps that need to be repeated for each new set of parts.
We’ll first upload the STL files as Models, then define the Part objects and group them in a Batch.
This will allow operators to perform the first sorting round (sorting on next processing step) on the AM-Vision.
Note
Please refer to the sorting_to_next_step.py file in our github repo for the example code for this step.
Upload STL files
First we will upload the STL files for our sample set to the model endpoint.
This endpoint takes as input an STL file and a unique ID for it.
The model/search endpoint is used to quickly check which models have
been uploaded already, to prevent re-uploads.
Warning
It’s crucial that two Models that share an id are guaranteed to be identical. If not, this can mean the wrong Part is displayed and sorted.
Models contain the following fields:
- id:
A unique slug id for the model
- stl:
the STL file
- unit:
the unit of the STL file (cm, mm, or inch are supported, default is mm)
This example will upload the STL files (and preventing duplicate uploads):
# map ids to filenames
geometries = {
    'airplane': 'stls/airplane.stl',
    'bus': 'stls/bus.stl',
    'flange': 'stls/flange.stl',
    'vase': 'stls/vase.stl',
    'bracket': 'stls/bracket.stl',
    'coupling': 'stls/coupling.stl',
    'knight': 'stls/knight.stl'
}
# [optional] filter out previously uploaded models
ids = {'id': ','.join(stls.keys())}
response = api.model.search.post(ids, page_size=len(geometries))
for reference in response['results']:
    del geometries[reference['id']]
# upload models
for id, filename in geometries.items():
    with open(filename, 'rb') as geometry:
        api.model.post({'id': id, 'unit': unit}, files={'geometry': geometry})
Define parts
Parts are the principal objects in the AM-Vision API and represent physical parts. The Part object contains the following fields:
- id:
A unique id for the part
- title:
The part title displayed in the UI
- copies:
The number of duplicate copies of this part
- model:
Your id of the previously uploaded STL file
- material:
An identifier for the part’s appearance
- attributes:
A key-value map containing any further metadata
The following example uploads the parts as defined in the sample dataset (See the Parts table and the Attributes table):
parts = [
    {
        "id": "airplane",
        "title": "Airplane",
        "copies": 1,
        "model": "airplane",
        "material": "SLS_PA11",
        "attributes": {
            "prev_step": "printing",
            "next_step": "shipping",
            "technology": "SLS",
            "order_id": 168,
            "tray": "240",
            "target_date": "2022-07-23"
        }
    },
    {
        "id": "bus",
        "title": "Bus",
        "copies": 5,
        "model": "bus",
        "material": "SLS_PA11",
        "attributes": {
            "prev_step": "Printing",
            "next_step": "shipping",
            "technology": "SLS",
            "order_id": 201,
            "tray": "240",
            "target_date": "2022-03-10"
        }
    },
    {
        "id": "bracket",
        "title": "Bracket",
        "copies": 1,
        "model": "bracket",
        "material": "MJF_PA12",
        "attributes": {
            "prev_step": "Printing",
            "next_step": "shipping",
            "technology": "MJF",
            "order_id": 201,
            "tray": "240",
            "target_date": "2022-03-10"
        }
    },
    {
        "id": "widget",
        "title": "Widget",
        "copies": 1,
        "model": "bracket",
        "material": "MJF_PA12",
        "attributes": {
            "prev_step": "Printing",
            "next_step": "dye_black",
            "technology": "MJF",
            "order_id": 443,
            "tray": "240",
            "target_date": "2022-03-18"
        }
    },
    {
        "id": "coupling",
        "title": "Coupling",
        "copies": 1,
        "model": "coupling",
        "material": "SLS_PA11",
        "attributes": {
            "prev_step": "Printing",
            "next_step": "dye_black",
            "technology": "SLS",
            "order_id": 302,
            "tray": "240",
            "target_date": "2022-03-18"
        }
    },
    {
        "id": "flange",
        "title": "Flange",
        "copies": 1,
        "model": "flange",
        "material": "SLS_PA11",
        "attributes": {
            "prev_step": "Printing",
            "next_step": "dye_red",
            "technology": "SLS",
            "order_id": 201,
            "tray": "240",
            "target_date": "2022-03-10"
        }
    },
    {
        "id": "knight",
        "title": "Knight",
        "copies": 1,
        "model": "knight",
        "material": "MJF_PA12",
        "attributes": {
            "prev_step": "Printing",
            "next_step": "dye_red",
            "technology": "MJF",
            "order_id": 302,
            "tray": "240",
            "target_date": "2022-03-18"
        }
    },
    {
        "id": "vase",
        "title": "Vase",
        "copies": 3,
        "model": "vase",
        "material": "MJF_PA12",
        "attributes": {
            "prev_step": "Printing",
            "next_step": "dye_red",
            "technology": "MJF",
            "order_id": 168,
            "tray": "240",
            "target_date": "2022-07-23"
        }
    }
]
api.part.put(parts)
Define batch
Batches are groups of Part objects, defined by a query on PartAttributes. An operator can start a batch from the main page of the UI to start sorting the Parts inside.
The Batch object contains the following fields:
- id:
A unique id for the batch
- title:
The batch title displayed in the UI
- batch_category:
Optional batch_category tab to display batch under (see BatchCategories)
- query:
A query on part attributes that determines the parts in the batch
The parts in our sample set all come from the same print tray 240 and this is how we will group them.
The following example defines the batch:
batch = {
    "id": "240",
    "title": "Tray 240",
    "query": "tray=240",
}
api.batch.post(batch)
The system is now ready for the first round of sorting by the operator.
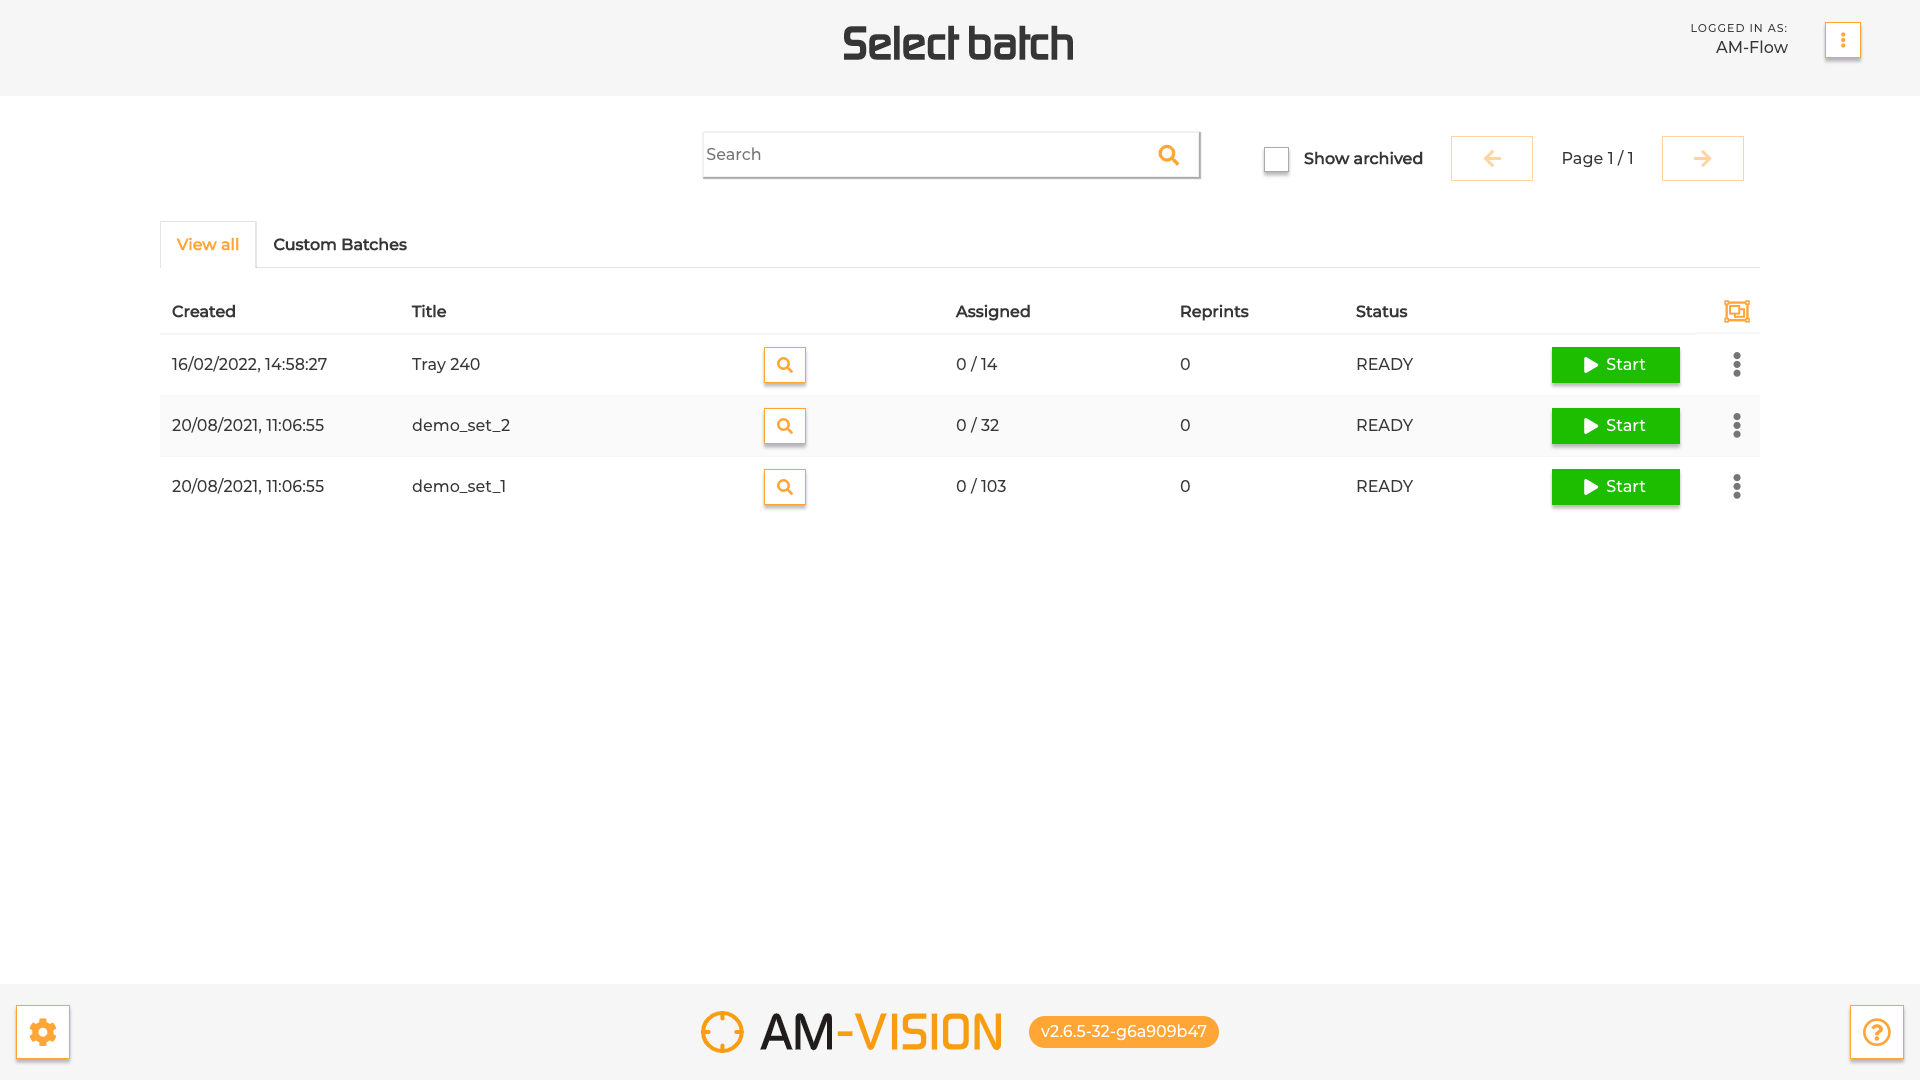
Sorting the parts
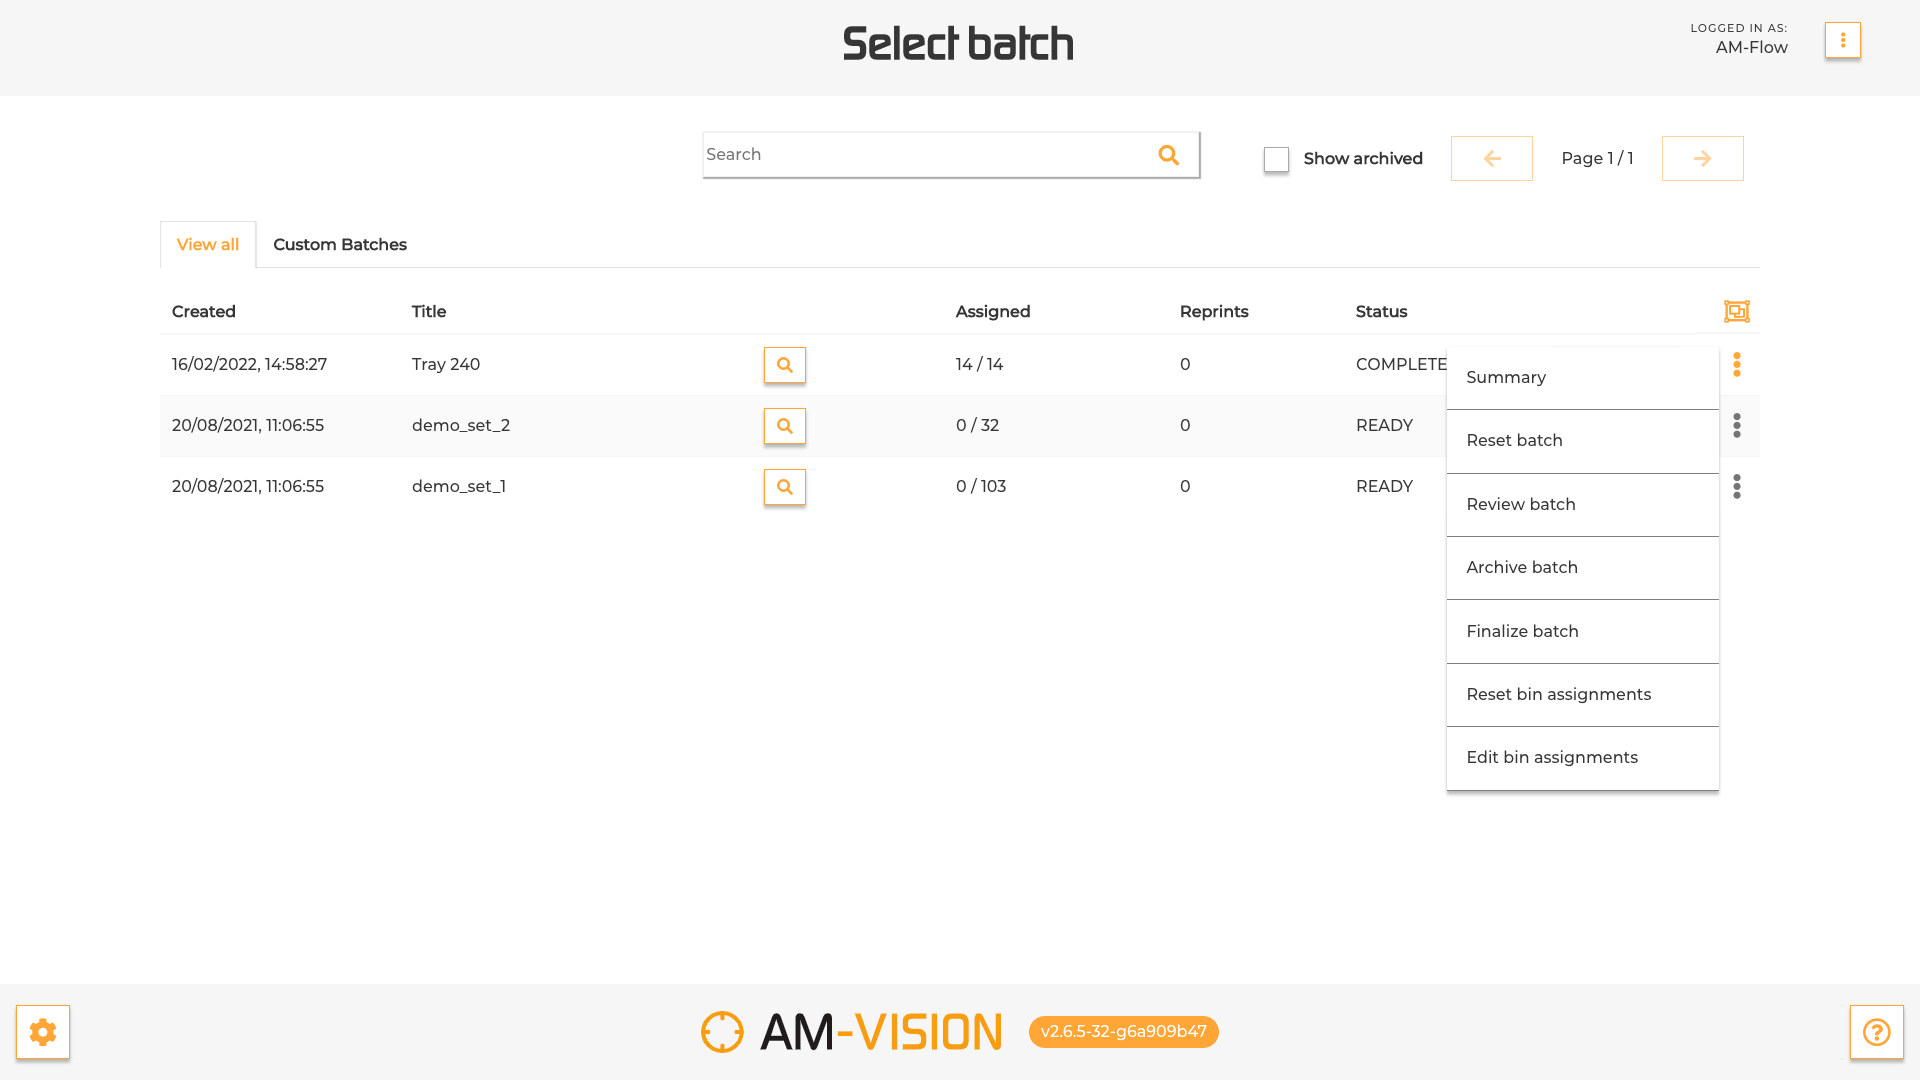
After our work above, the first batch is now visible in the AM-Vision UI:
The operator can now start sorting the batch. He/she will first be asked to setup the sorting in this screen:
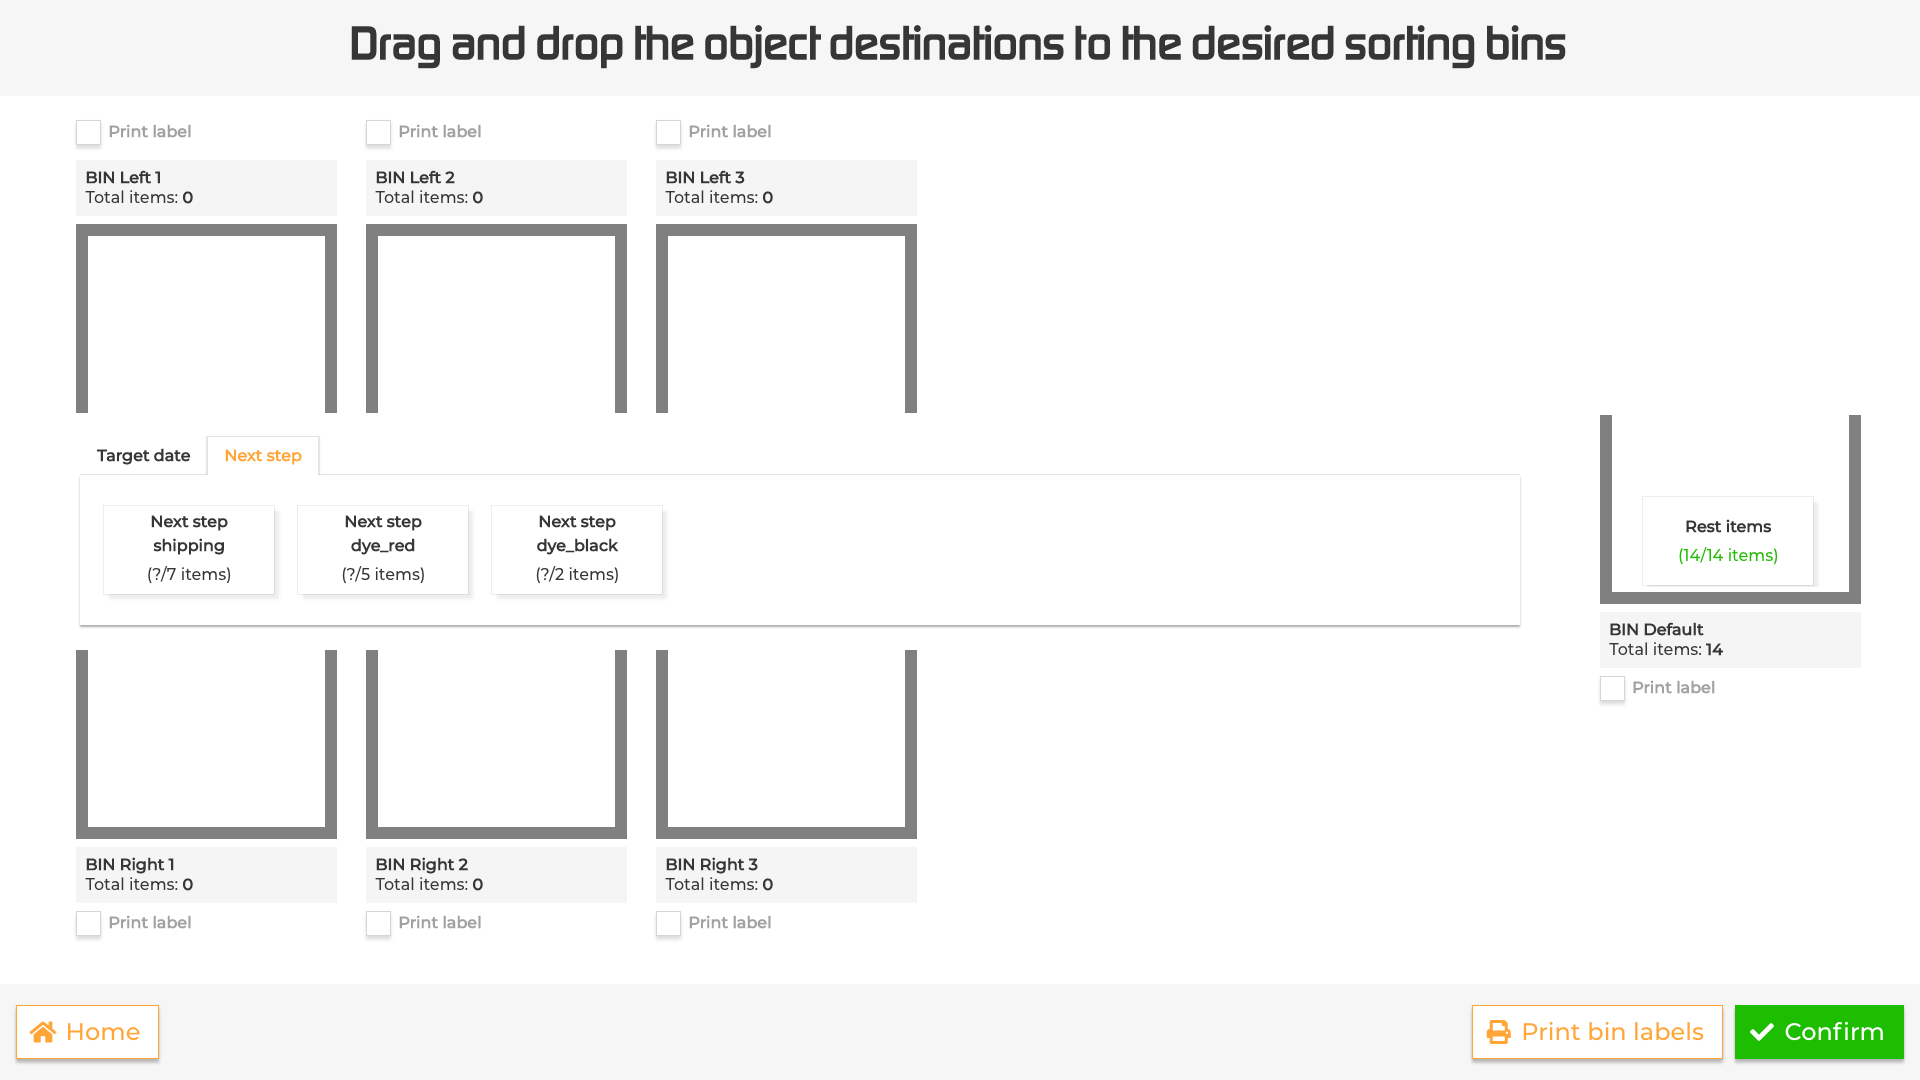
The operator sets up sorting by Next step, dragging each next step to an output:
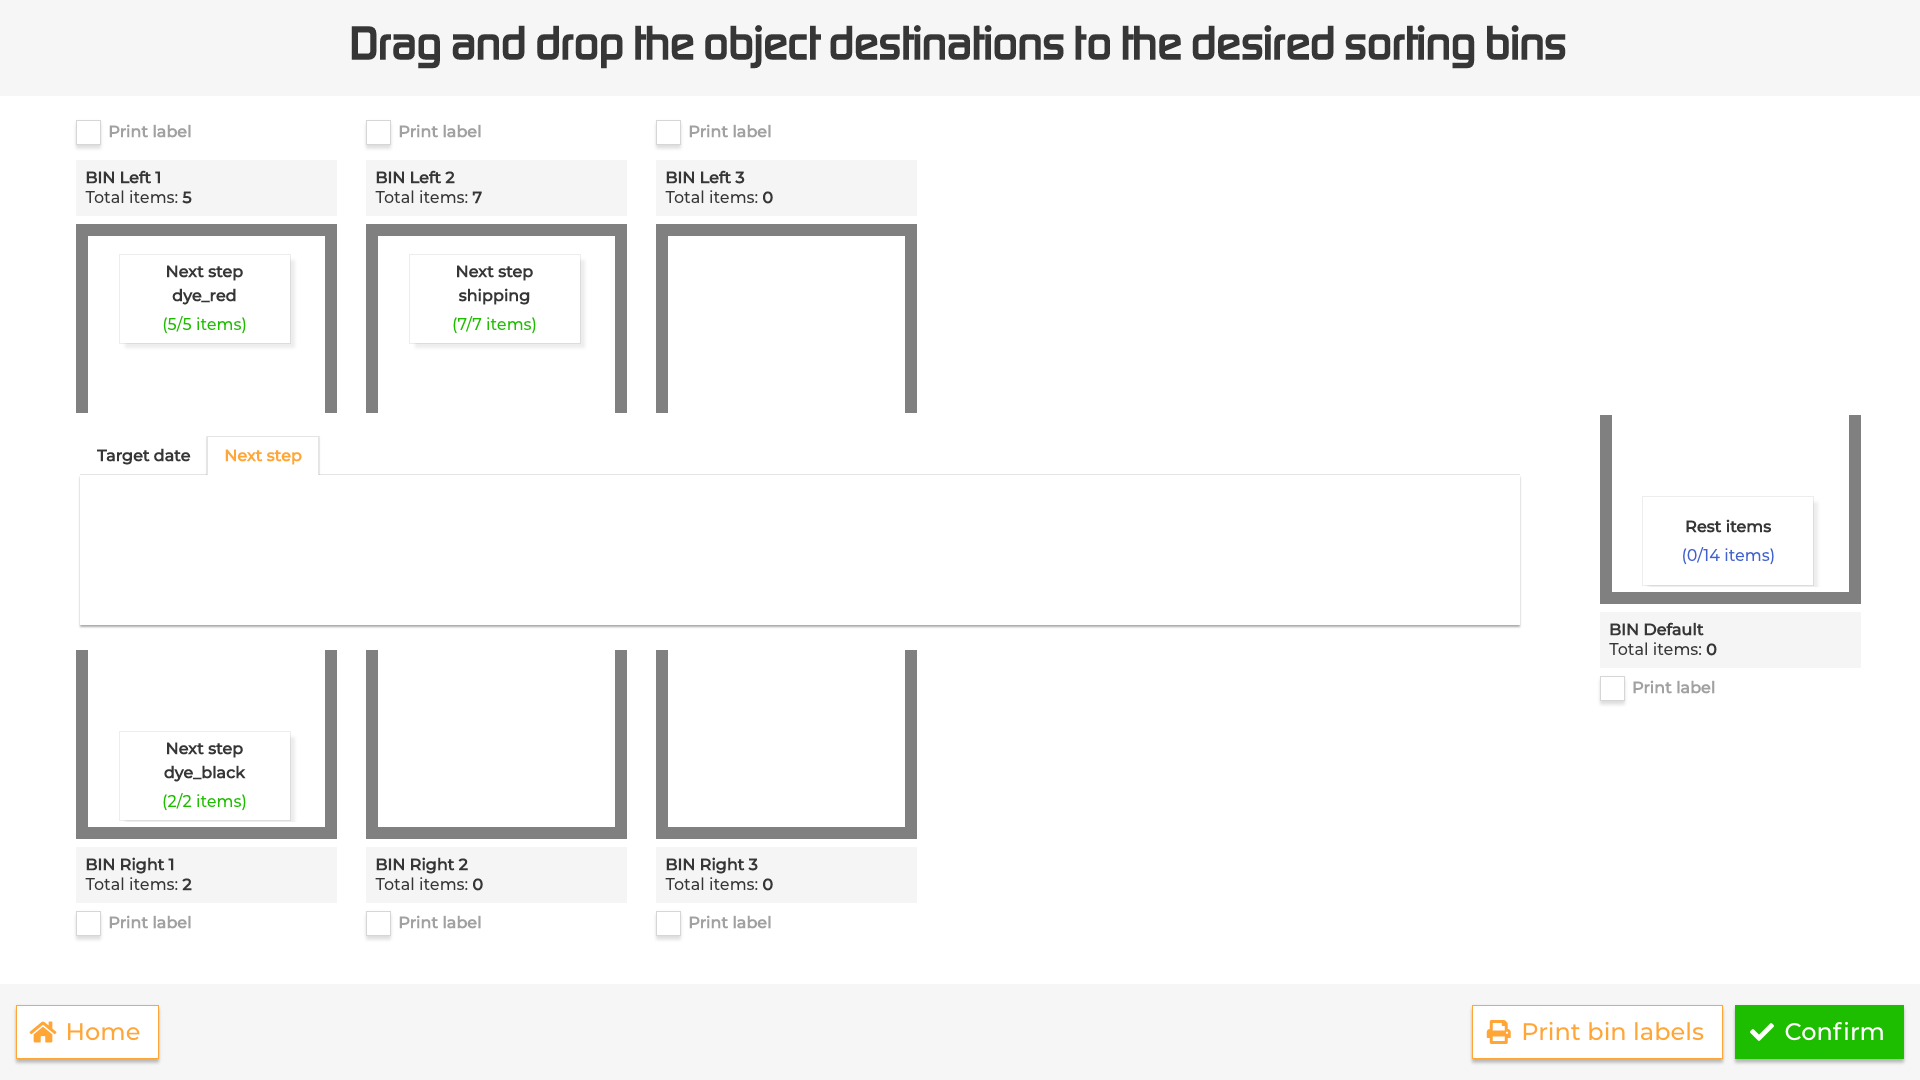
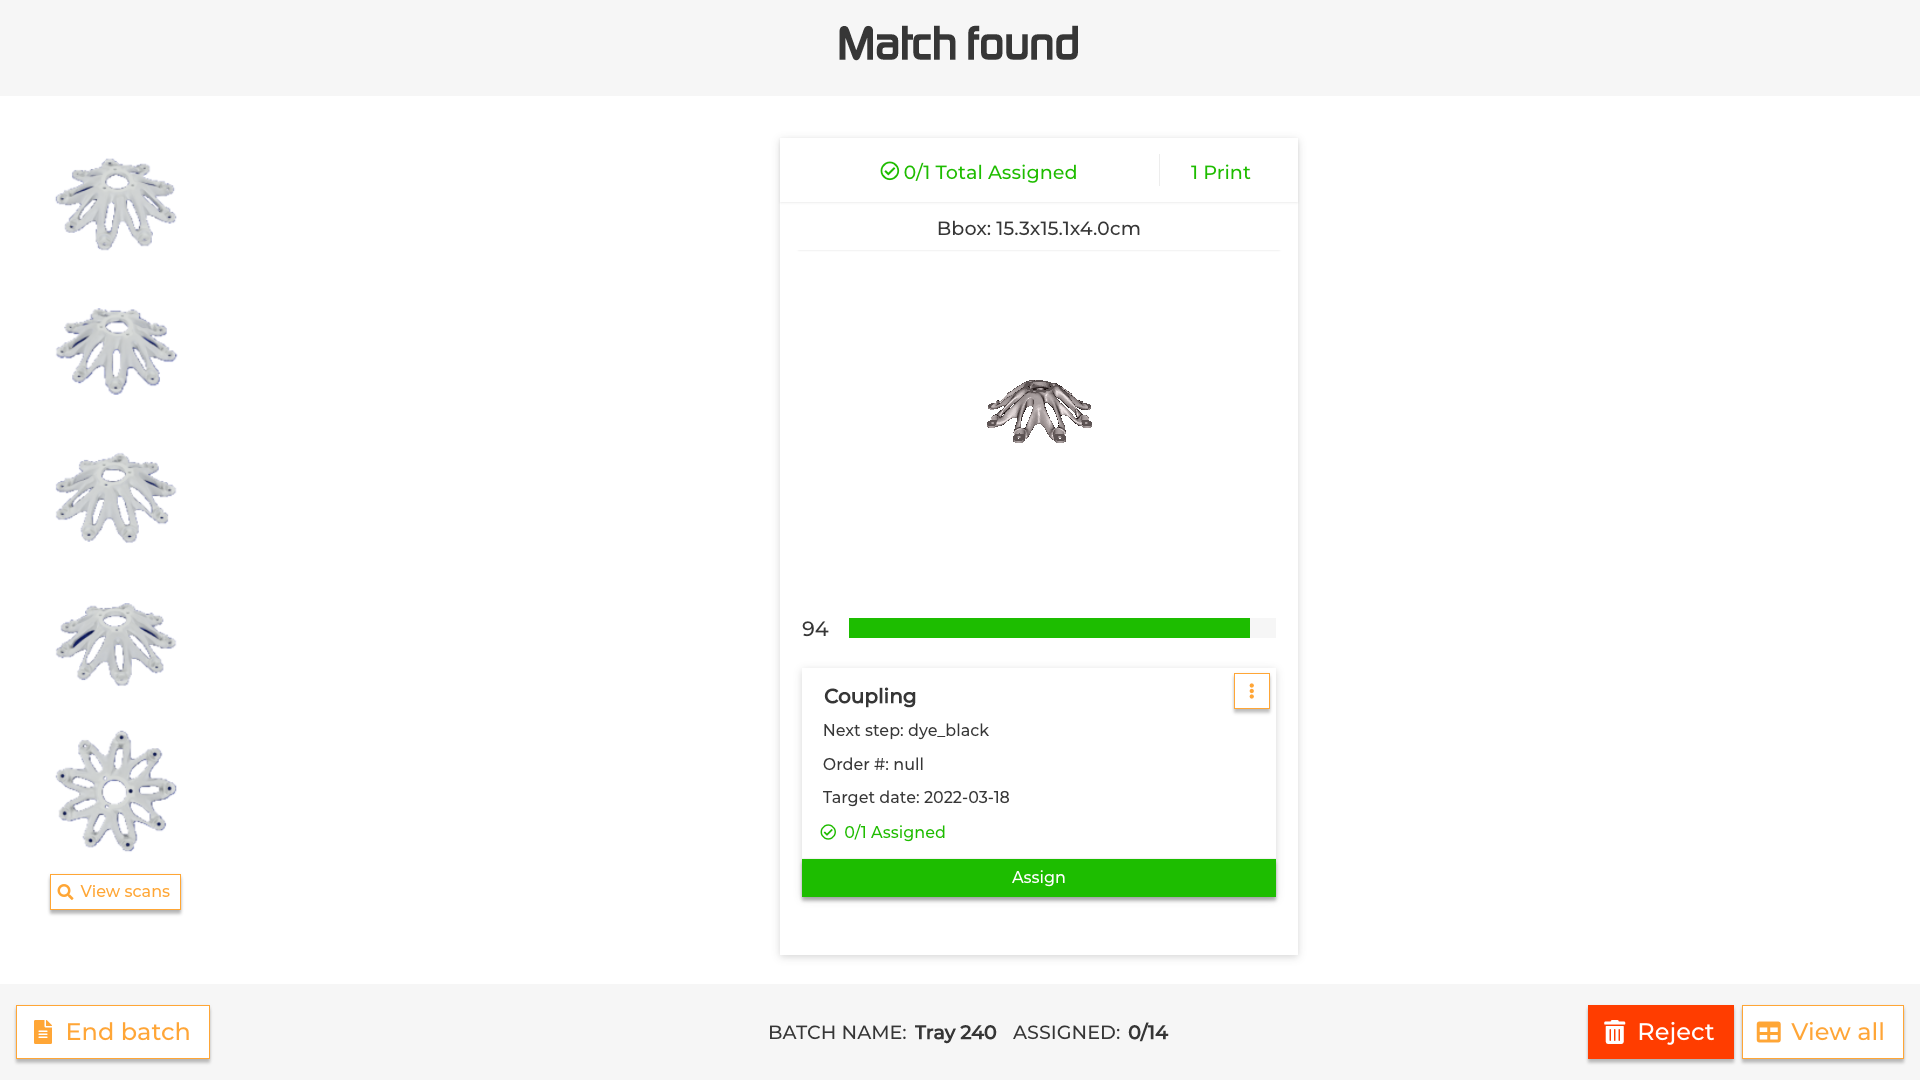
The operator now feeds each part through the machine. The machine will recognize the part and automatically place it in the requested output. Occasionally the operator will be required to confirm the recognition result:
After sorting all the parts, the operator can now advance the batch:
When the batch is advanced, the batch.advance webhook that we subscribed to earlier is sent.
Sorting to order
After the batch is advanced, the parts need to be updated and new batches created for the second round of sorting.
Note
Please refer to the sorting_to_order.py file in our github repo for the example code for the sorting to order step. That example does not include the webhook listening part, but instead manually checks whether the batch is advanced
Webhook notification
When the operator completes sorting the batch, you will receive the batch.advance webhook.
The webhook notification only contains a summary of the batch, like this:
{
    'hook': {
        'id': 18,
        'event': 'batch.advance',
        'target': 'http://yourapi.com/on_batch_sorted/'
    },
    'data': {
        'url': '/api/batch/240/',
        'created': '2022-01-19T12:05:16.655027+01:00',
        'modified': '2022-01-19T12:10:30.787503+01:00',
        'id': '240',
        'title': 'Tray 240',
        'archived': False,
        'batch_category': None,
        'query': 'tray=240',
        'summary': {
            'assigned': 12,
            'reprinted': 2,
            'parts': 14,
            'unassigned_scans': 0,
            'needs_processing': False,
            'processing_status': 'READY',
            'processing_ratio': 1.0,
            'conflicted': 0,
            'currently_scanning': None
        },
        'has_output_assignments': True,
        'active_scan_session': '176719ae-29fb-4eb0-b41f-45f60e23f59d',
        'auto_delete': False,
        'attributes': {},
        'contents': {
            'parts': [...],
            'column_attributes': {},
            'sub_output_counts': {'current': {}, 'upcoming': {}},
            'card_detail_attributes': {'batch': 'attributes.batch', 'color': 'attributes.color', 'order_id': 'attributes.order_id', 'next_step': 'attributes.next_step'},
            'card_sorting_attributes': {'batch': 'attributes.batch', 'color': 'attributes.color'},
            'card_summary_attributes': {'order_id': 'attributes.order_id', 'next_step': 'attributes.next_step'}
        }
    }
}
We can see 12 parts were assigned, but 2 parts were marked reprints. To get the full details of the assignments we can query the ScanAssignment endpoint.
Retrieving assignments
We can retrieve all the scanassignments for a given batch with a query:
# equivalent to: GET /api/scan_assignment/?batch=999
api.scan_assignment.get(batch=999)
ScanAssignment objects contain the following fields:
- uuid:
auto-generated uuid for the assignment
- scan:
the uuid of the scan
- part:
the id of the part
- output:
the id of the output
- copies:
the number of part copies that were assigned
- reprint:
whether the part was marked as reprint (e.g. rejected)
This could be an example result (I’m leaving out some fields for brevity):
{
    'count': 9,
    'next': None,
    'previous': None,
    'results': [
        {
            'part': 'bus',
            'output': 'left-1',
            'copies': 3,
            'reprint': False
        }
        {
            'part': 'airplane',
            'output': 'right-2',
            'copies': 1,
            'reprint': True
        },
        {
            'part': 'bus',
            'output': 'default',
            'copies': 2,
            'reprint': False
        },
        {
            'part': 'bracket',
            'output': 'right-2',
            'copies': 1,
            'reprint': False
        },
        {
            'part': 'widget',
            'output': 'right-2',
            'copies': 1,
            'reprint': False
        },
        {
            'part': 'coupling',
            'output': 'right-2',
            'copies': 1,
            'reprint': False
        },
        {
            'part': 'flange',
            'output': 'right-2',
            'copies': 1,
            'reprint': False
        },
        {
            'part': 'knight',
            'output': 'right-2',
            'copies': 1,
            'reprint': True
        },
        {
            'part': 'vase',
            'output': 'right-2',
            'copies': 3,
            'reprint': False
        },
    ],
    'num_pages': 1
}
The airplane and knight parts were marked reprints.
It is beyond the scope of this tutorial on how to handle reprints. Here I assume they are removed
from the second-round sort.
Note that it’s possible for a part with multiple copies to be assigned in separate assignments.
In the above result, The bus is assigned 3 copies first, then 2 more later on.
Also note that this result is paginated and will by default only show 10 results. In this case there’s only 9. if ‘num_pages’ is bigger than one you will need to retrieve the remaining pages. The link to the next page is given in the result in case there’s more than one page, like so:
{
    "count": 50,
    "next": "http://localhost:8000/api/scan_assignment/?batch=sample&page=2",
    "previous": null,
    "results": ....,
    "num_pages: 5
}
You can also specify the page_size in the request, e.g.:
api.scan_assignment.get(batch=240, page_size=1000)
If you wish to avoid pagination you could specify the sum of all the part copies as the page_size.
Updating the AM-Vision
First, parts that were marked reprint can be removed from the AM-Vision:
api.part.delete(id="airplane,knight")
The remaining parts should be updated to the next processing step, simply by re-defining them and changing the next processing step:
parts = [
    {
        "id": "widget",
        "title": "Widget",
        "copies": 1,
        "model": "bracket",
        "material": "MJF_PA12-BLACK",
        "attributes": {
            "prev_step": "dye_black",
            "next_step": "shipping",
            "technology": "MJF",
            "order_id": 443,
            "tray": "240",
            "target_date": "2022-03-18"
        }
    },
    {
        "id": "coupling",
        "title": "Coupling",
        "copies": 1,
        "model": "coupling",
        "material": "SLS_PA11-BLACK",
        "attributes": {
            "prev_step": "dye_black",
            "next_step": "shipping",
            "technology": "SLS",
            "order_id": 302,
            "tray": "240",
            "target_date": "2022-03-18"
        }
    },
    {
        "id": "flange",
        "title": "Flange",
        "copies": 1,
        "model": "flange",
        "material": "SLS_PA11-RED",
        "attributes": {
            "prev_step": "dye_red",
            "next_step": "shipping",
            "technology": "SLS",
            "order_id": 201,
            "tray": "240",
            "target_date": "2022-03-10"
        }
    },
    {
        "id": "vase",
        "title": "Vase",
        "copies": 3,
        "model": "vase",
        "material": "MJF_PA12-RED",
        "attributes": {
            "prev_step": "dye_red",
            "next_step": "shipping",
            "technology": "MJF",
            "order_id": 168,
            "tray": "240",
            "target_date": "2022-07-23"
        }
    }
]
api.part.put(parts)
Note that we didn’t update the bus and bracket parts, since their next_step did not change (it was already shipping).
Finally we will make new sub-batches for each group of parts that is kept together from the post-processing operation. This comes down to three sub-batches:
2 Parts that had no post-processing step
2 Parts that were dyed black
2 Parts that were dyed red
This will create those sub-batches:
sub_batches = [
    {
        "id": "240_no_post_process",
        "title": "Tray 240: no post process",
        "query": "tray=240&prev_step=printing",
    },
    {
        "id": "240_dye_black",
        "title": "Tray 240: Dye black",
        "query": "tray=240&prev_step=dye_black",
    },
    {
        "id": "240_dye_red",
        "title": "Tray 240: Dye red",
        "query": "tray=240&prev_step=dye_red",
    }
]
api.batch.put(sub_batches)
We can now also delete the original batch:
api.batch(240).delete()
Now we’re ready to start sorting by order id.
Sorting the parts
After our work above, the sub batches are now visible in the AM-Vision UI:
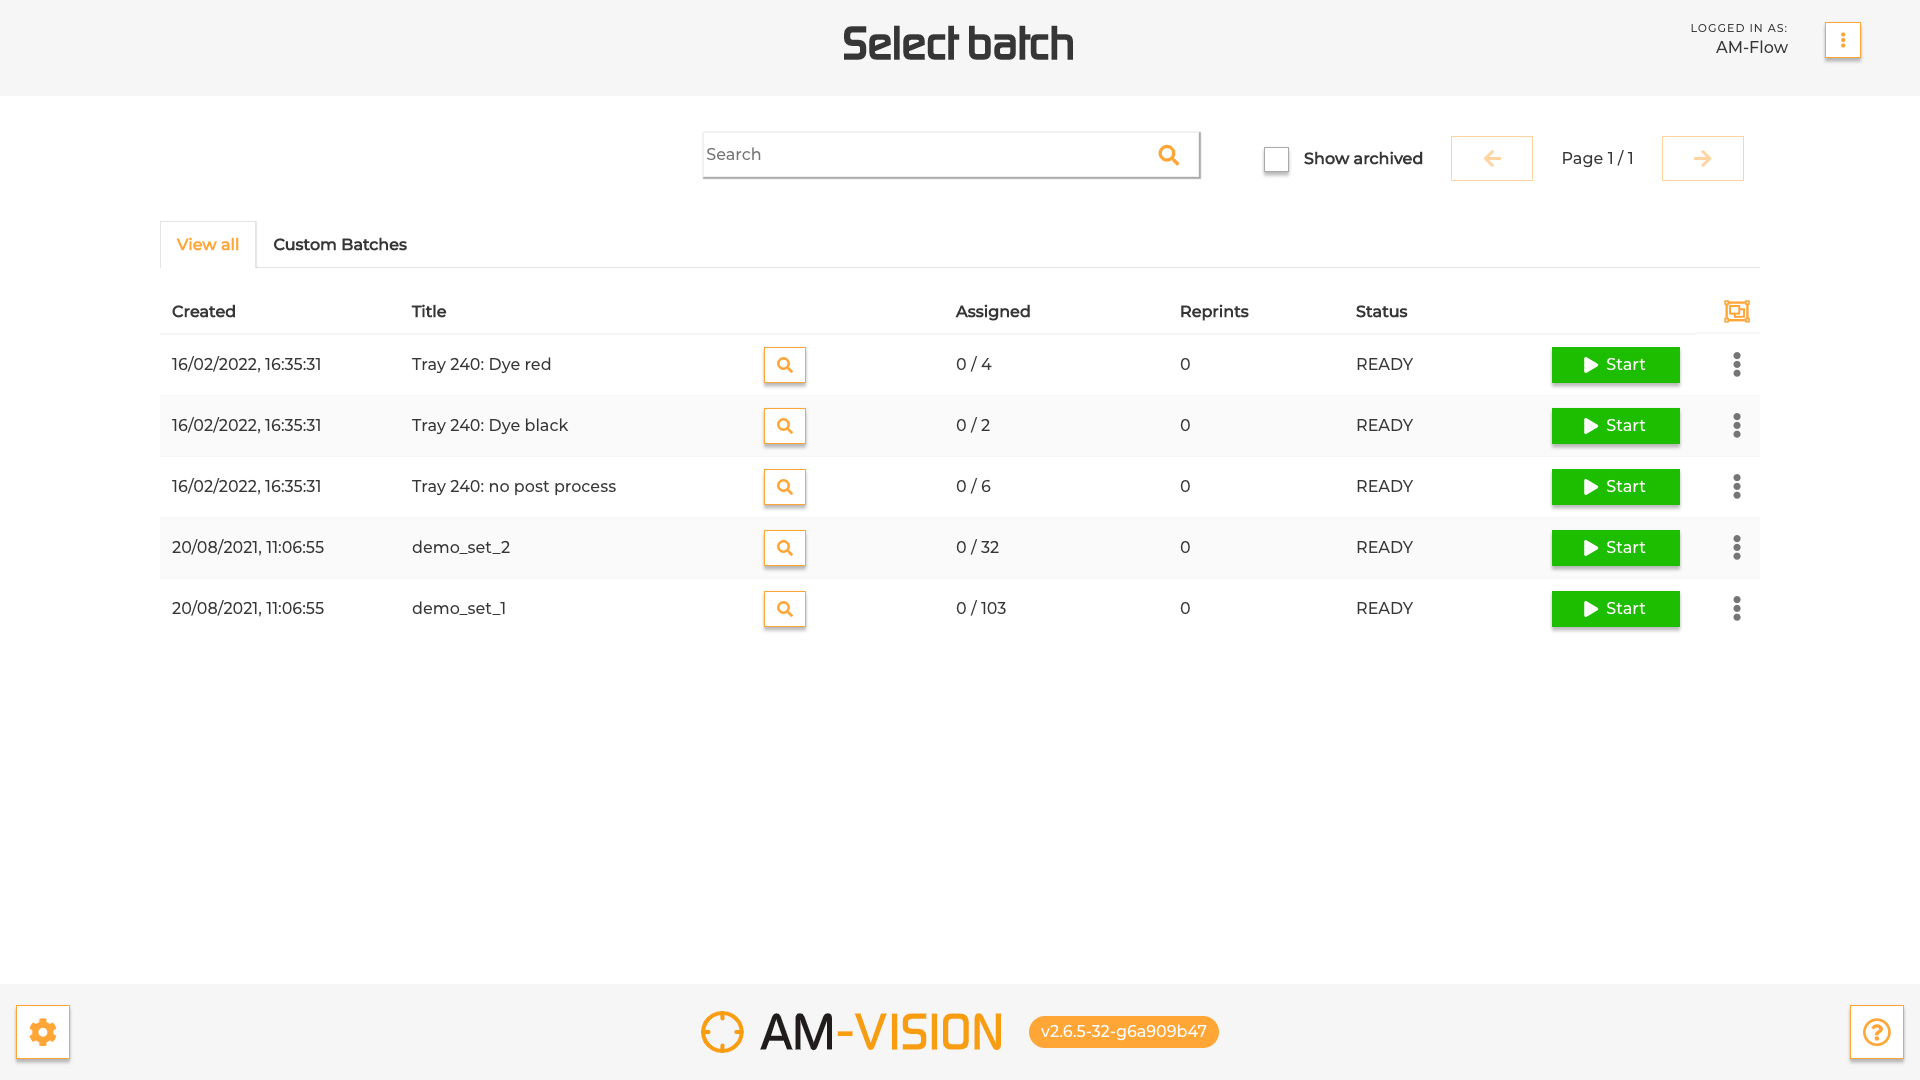
The operator can now start sorting these. He/she will first be asked to setup the sorting in this screen:
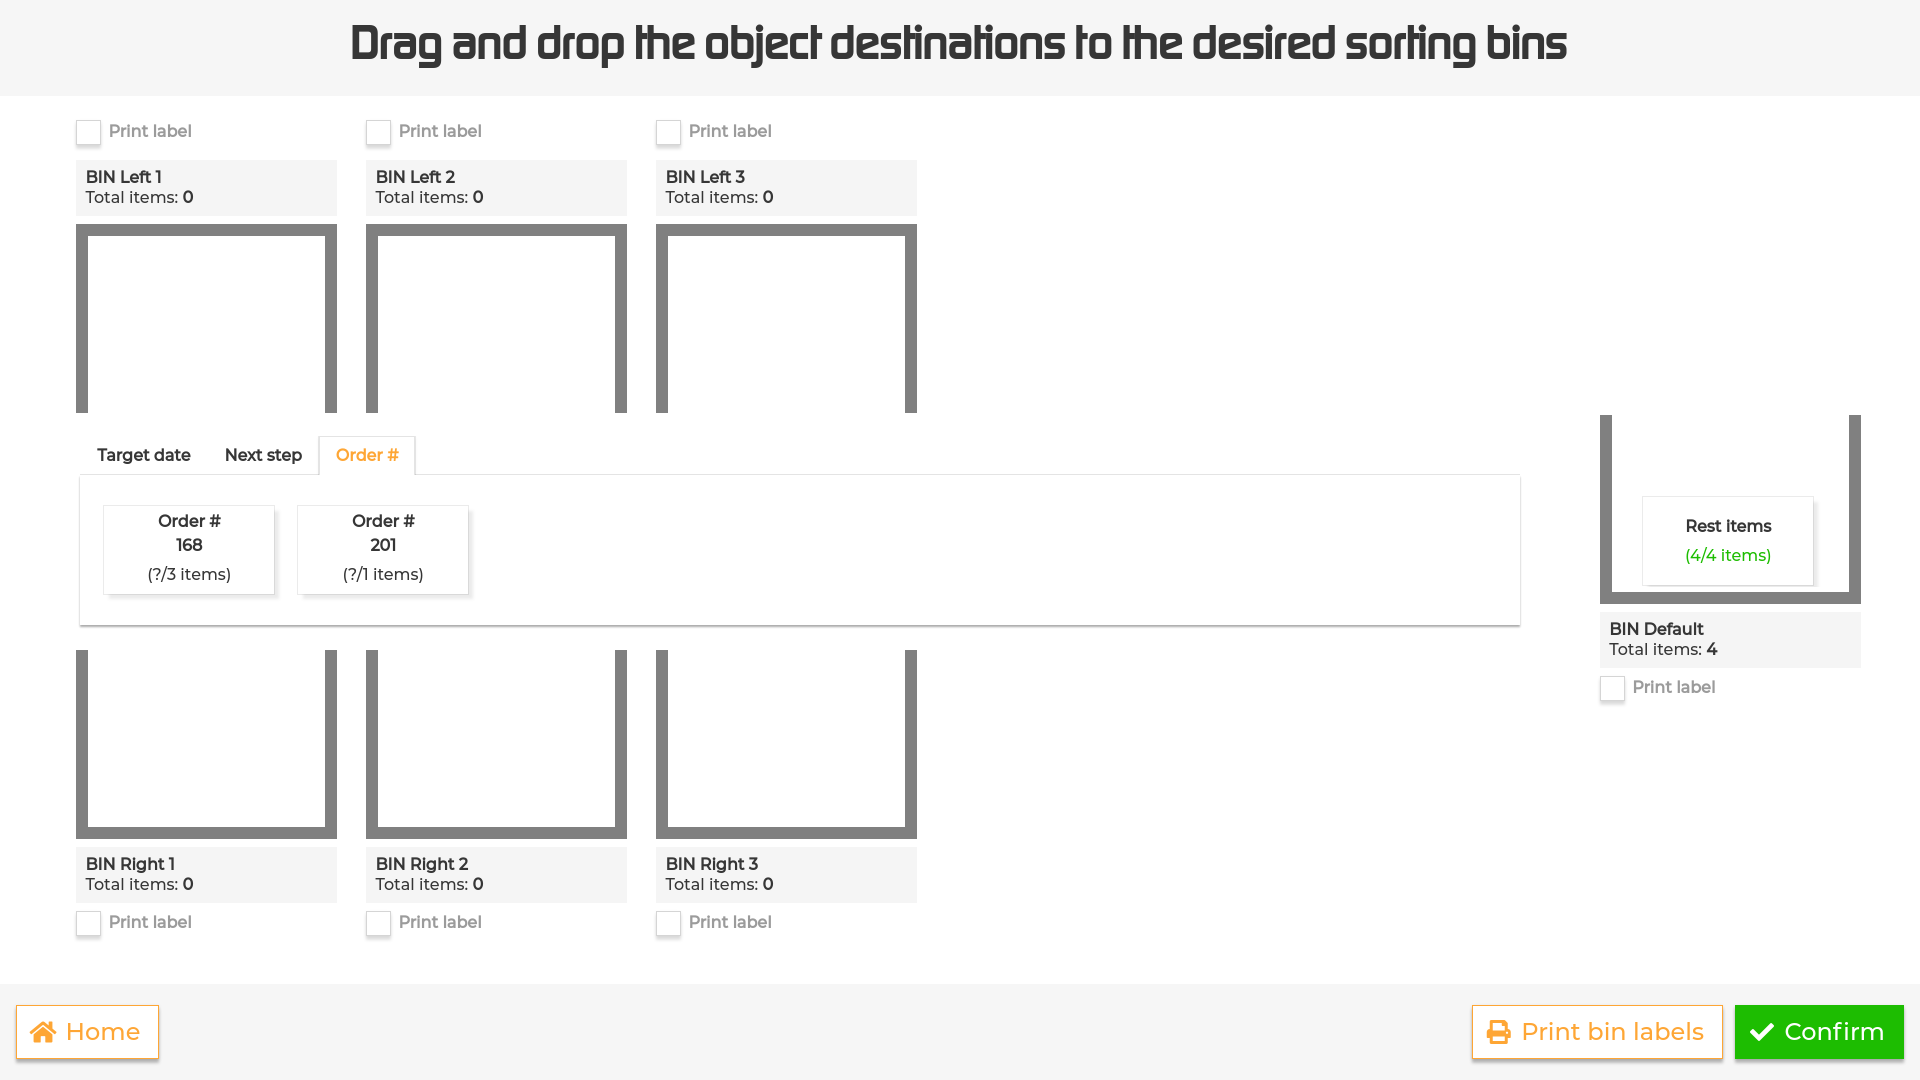
The operator sets up sorting by Order, dragging each order id to an output:
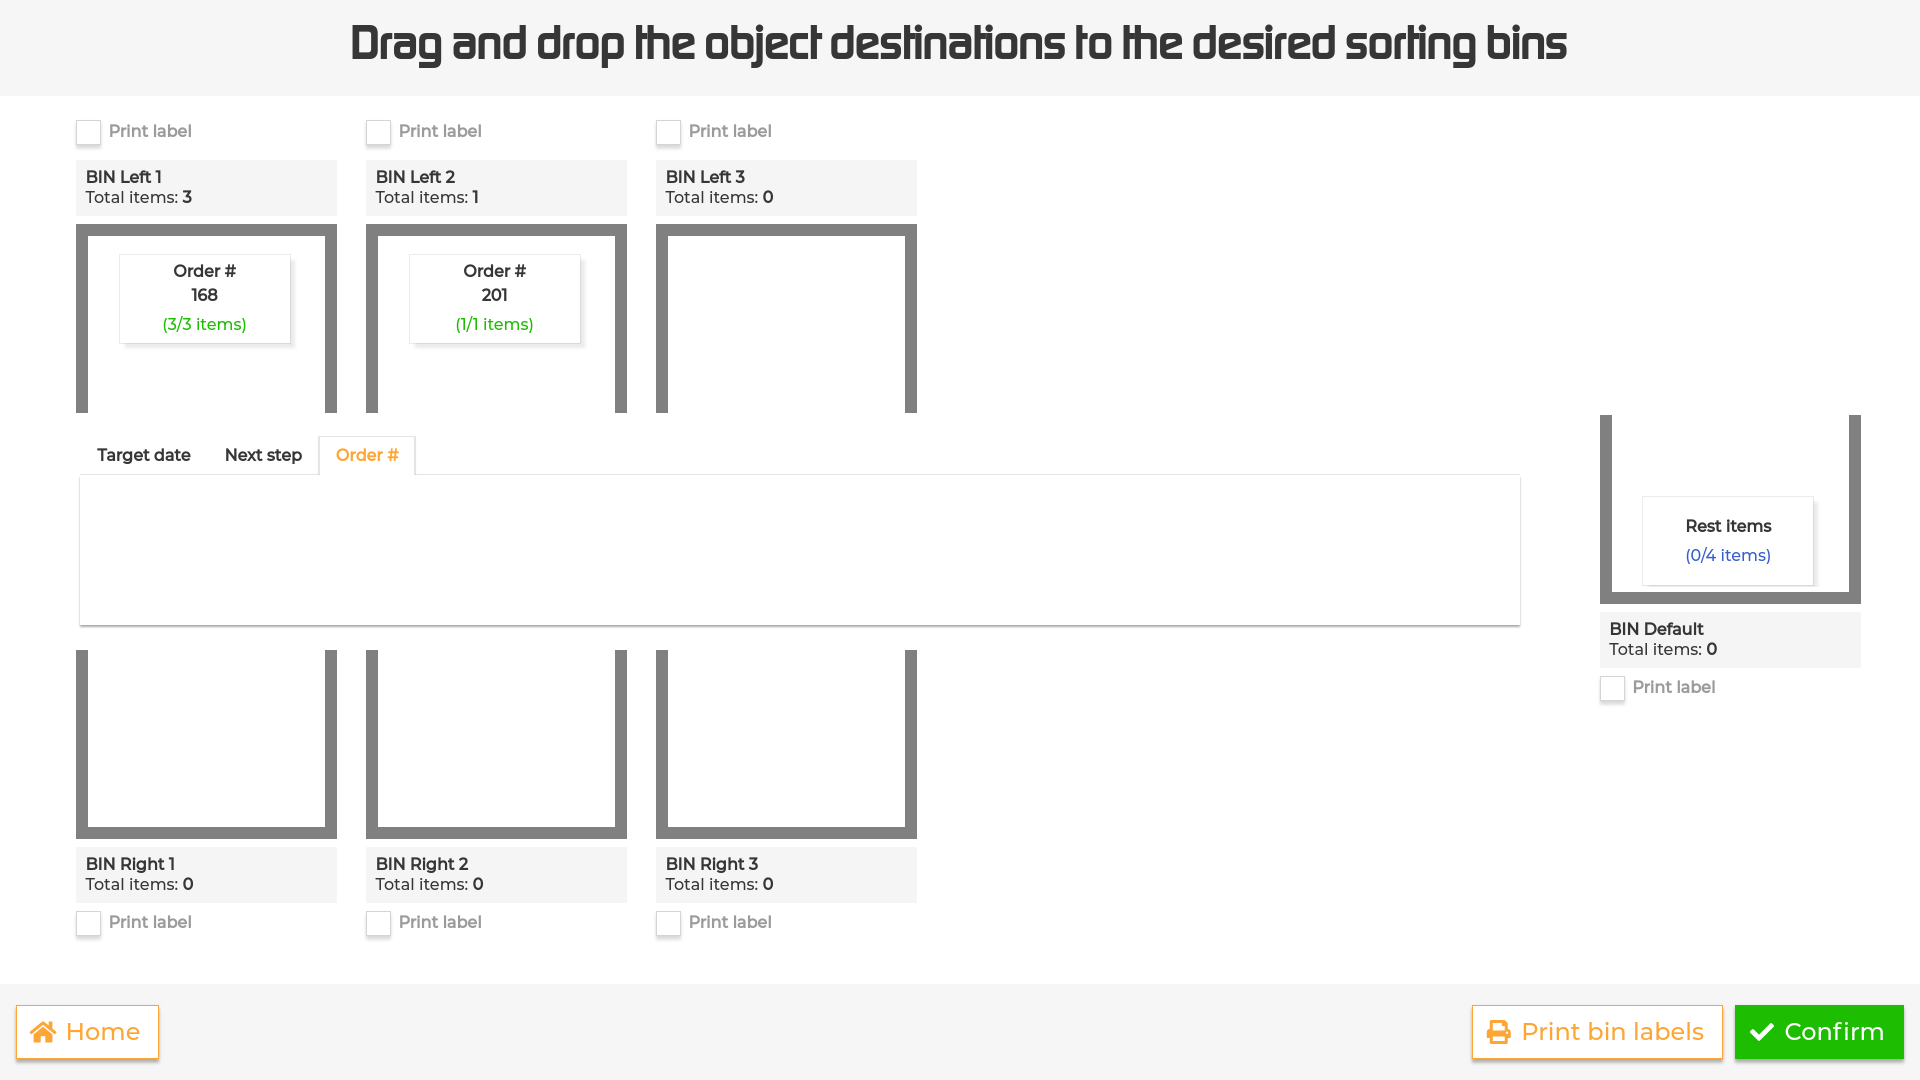
The operator now feeds each part through the machine. After sorting all the parts, the operator again advances the batch.
Clean up
When receiving the batch.advance webhook for the sub-batches, we can again retrieve the scan assignments, and remove reprints.
It is also advisable to delete the sub-batches as well as the parts to avoid clogging up your AM-Vision.